
In part 14 of this production basics series, we’ve introduced a few modulation effects. A modulation effect is basically every effect that is automated over time. Modulation effects are powerful tools that can add movement and interest to a mix. Let’s look at some examples.
Chorus
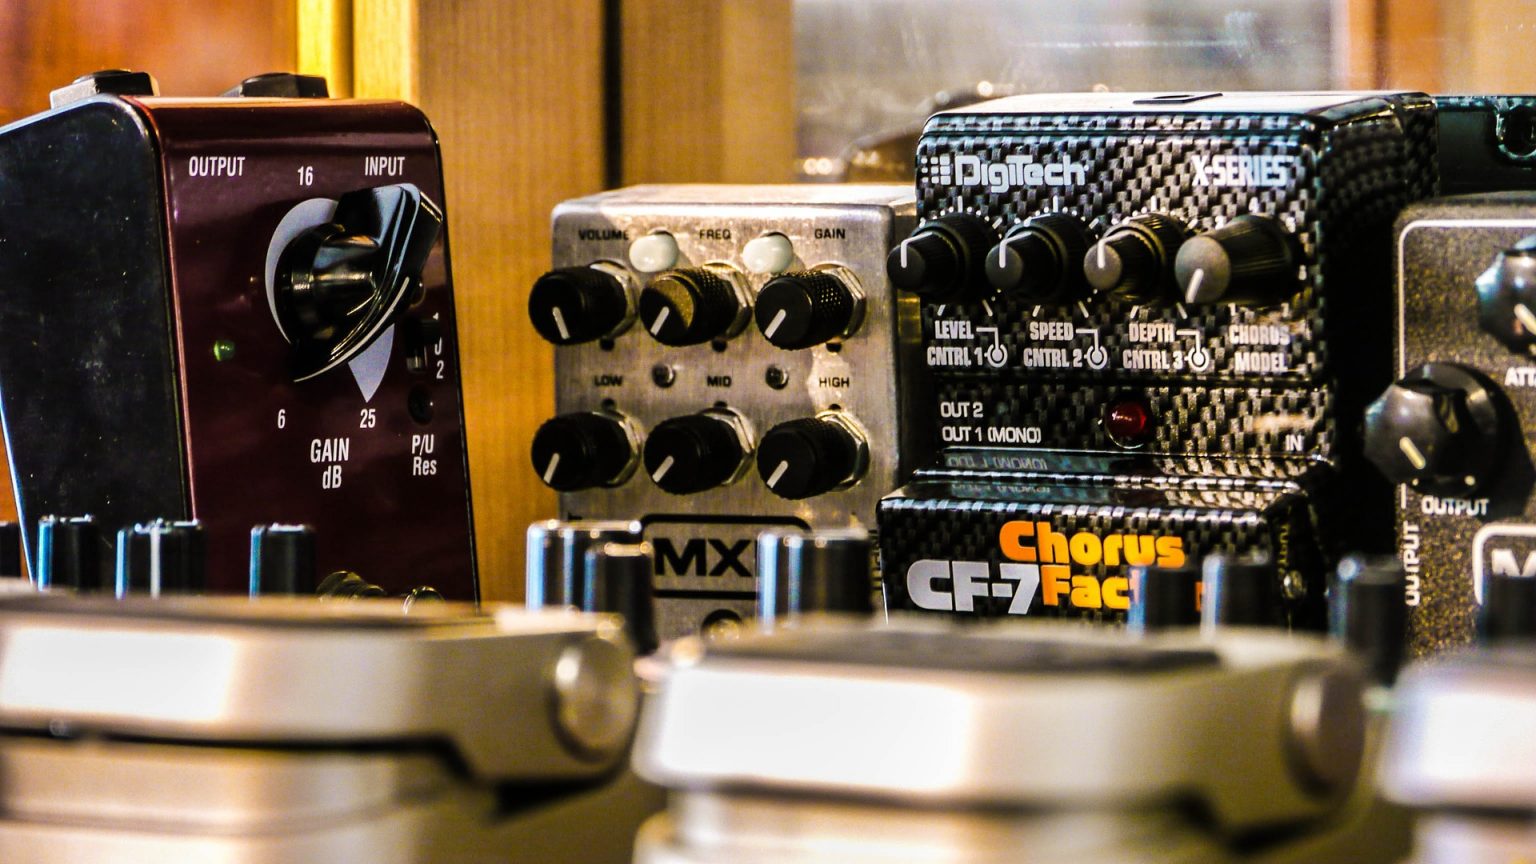
As we’ve seen previously, phaser, chorus and flanger are related effects that all use short delay times modulated by an LFO. Because chorus can be made up of 2 or 4 delays that are panned in the stereo field, this effect can be used to add width to a sound. It is often used on vocals to give the impression of multiple singers singing the same part.
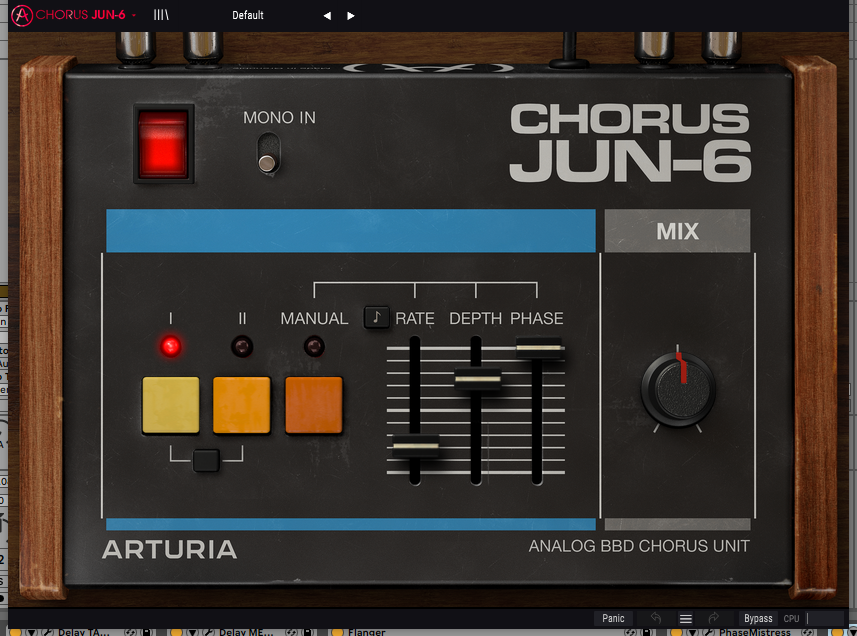
Because chorus detunes the sound it seems to smear transients a little bit, which move sound further to the back in the mix. If you ever come across a sound that is too upfront, but you don’t want to drown it in reverb, put some chorus on it and it will blend much better with the rest of the mix.
Phaser
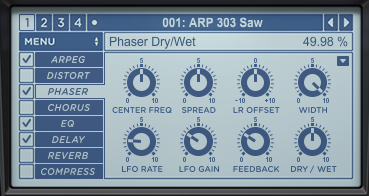
Phasers are often used in mono on guitars and basslines but you can use it on anything really. I use a Bad Stone phaser pedal from Electro Harmonix myself which gets used a lot on synths and even drums when recording. It features a manual control which is great for slowly building up tension. Most synths come equipped with a phaser which I often mix in at low levels.
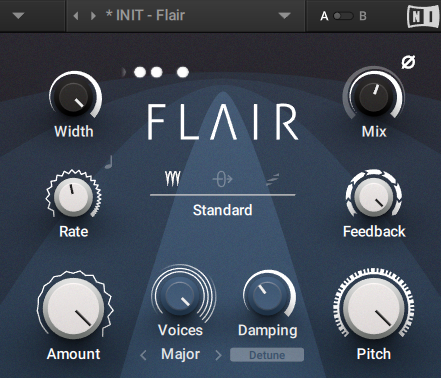
Flanger
Flangers I don’t use as often because its effect is really pronounced and not every song calls for that. I do use it on white noise risers or crash cymbals to add move movement to the sound. It’s more of a sound design tool than a mix tool, but you’ll have to try it out for yourself to see what works.
Tremolo
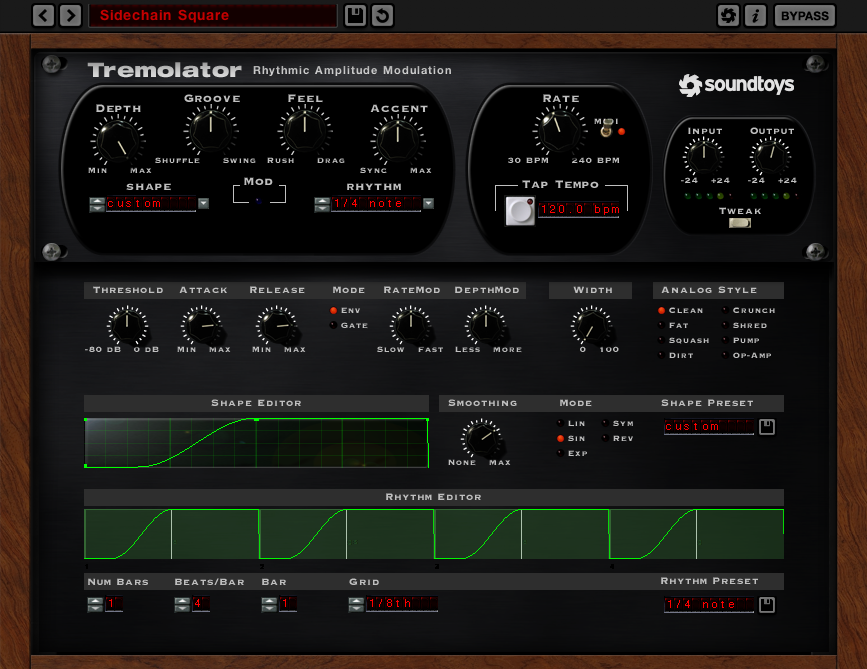
Tremolo finds its way onto a lot of my mixes. I especially like ‘Tremolator’ from Soundtoys, which gives you the option to manipulate the waveshape. I use tremolo’s on electric piano sounds like Wurlitzer and Rhodes, on guitars, pads, and sound effects. By automating the mix control or even the tempo control you can really add some interesting movement to the mix. You can even use tremolo’s to emulate sidechaining effects. LFO Tool by Xfer is a great example of this which offers way more control than sidechaining with a compressor.
Vibrato
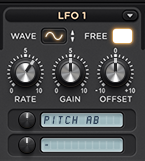
Vibrato, which modulates pitch, I usually only use on synthesizer patches. It works great on monophonic lead sounds. By using a little depth and a fast speed you can breathe life into an otherwise static sound. Some synthesizers allow you to delay the LFO so it starts playing after you hold the note for a certain amount of time. This emulates the way a singer uses vibrato.
Autopanner
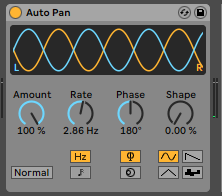
Auto panning is useful to add movement to the stereo field. Various waveforms can be used to move subtly from left to right with a sine wave, or suddenly with a square wave. Noise is fun to use too because it adds some unpredictability to the mix. I often use auto panning on pads, hi-hats, crashes, sound effects, and percussion. Auto panning allows you to bring an element out of the mix because moving elements are more noticeable than static elements. The added benefit of this is that you can lower the sound level while still being able to hear it clearly.
Quick tip: most autopanners can be synced to the DAW tempo, but often it sounds way more organic to leave it unsynced.
Autofilter
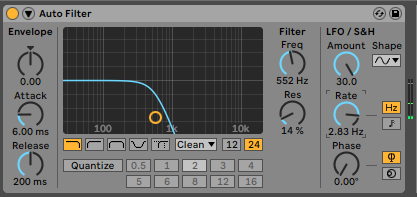
Auto filters are great for adding interest to a sound. A static pad for example can be turned into an interesting sound by slapping a low pass filter on it with an LFO modulating the filter cutoff. Fabfilter Volcano or Soundtoys Filterfreak are great tools for this job. But many DAW’s come equipped with their own auto filter plugin. Try it out on drums too, for some weird filter effects, especially when you combine low-pass and high-pass filters.
Creative Routing & Automation
Some DAW’s like Ableton and Bitwig allow you to send an LFO to almost everything. The same is true for Reaktor and Modular synthesis in general. If your DAW doesn’t have this feature you can always use automation curves or even record automation with your mouse or hardware midi controller. This is called fader riding and is usually used to automate track volume but can be used for everything else as well. Automating effect returns, for example, is a great way to add interest to your mix.
Automating the wet/dry mix on a reverb plugin or the feedback amount on a delay can be a great way to create contrast. By using modulation effects and automation in creative ways you can turn a stale mix into an exciting one. Experimentation is key, there are no rules.