
Every music producer or audio engineer dreams of owning a vintage LA2A, 1176 1073, or any other classic unit. However, one glance at the price of an original version makes you glad we have access to plugins now. Even though the quality of plugins keeps getting better, sometimes owning an analog hardware device just adds some mojo you can’t get out of a piece of software.
What if I tell you that there’s no need to sell your house to acquire some of the most wanted vintage audio equipment? Thanks to a community of audio engineers around the world it’s now possible to create your own affordable vintage gear. And it’s not difficult to build either!
How to get started with DIY audio gear
Numerous websites offer DIY audio kits. These kits are basically the audio variant of Lego. You buy a complete kit with a PCB (Printed Circuit Board), all the components required to complete the build, and a case.
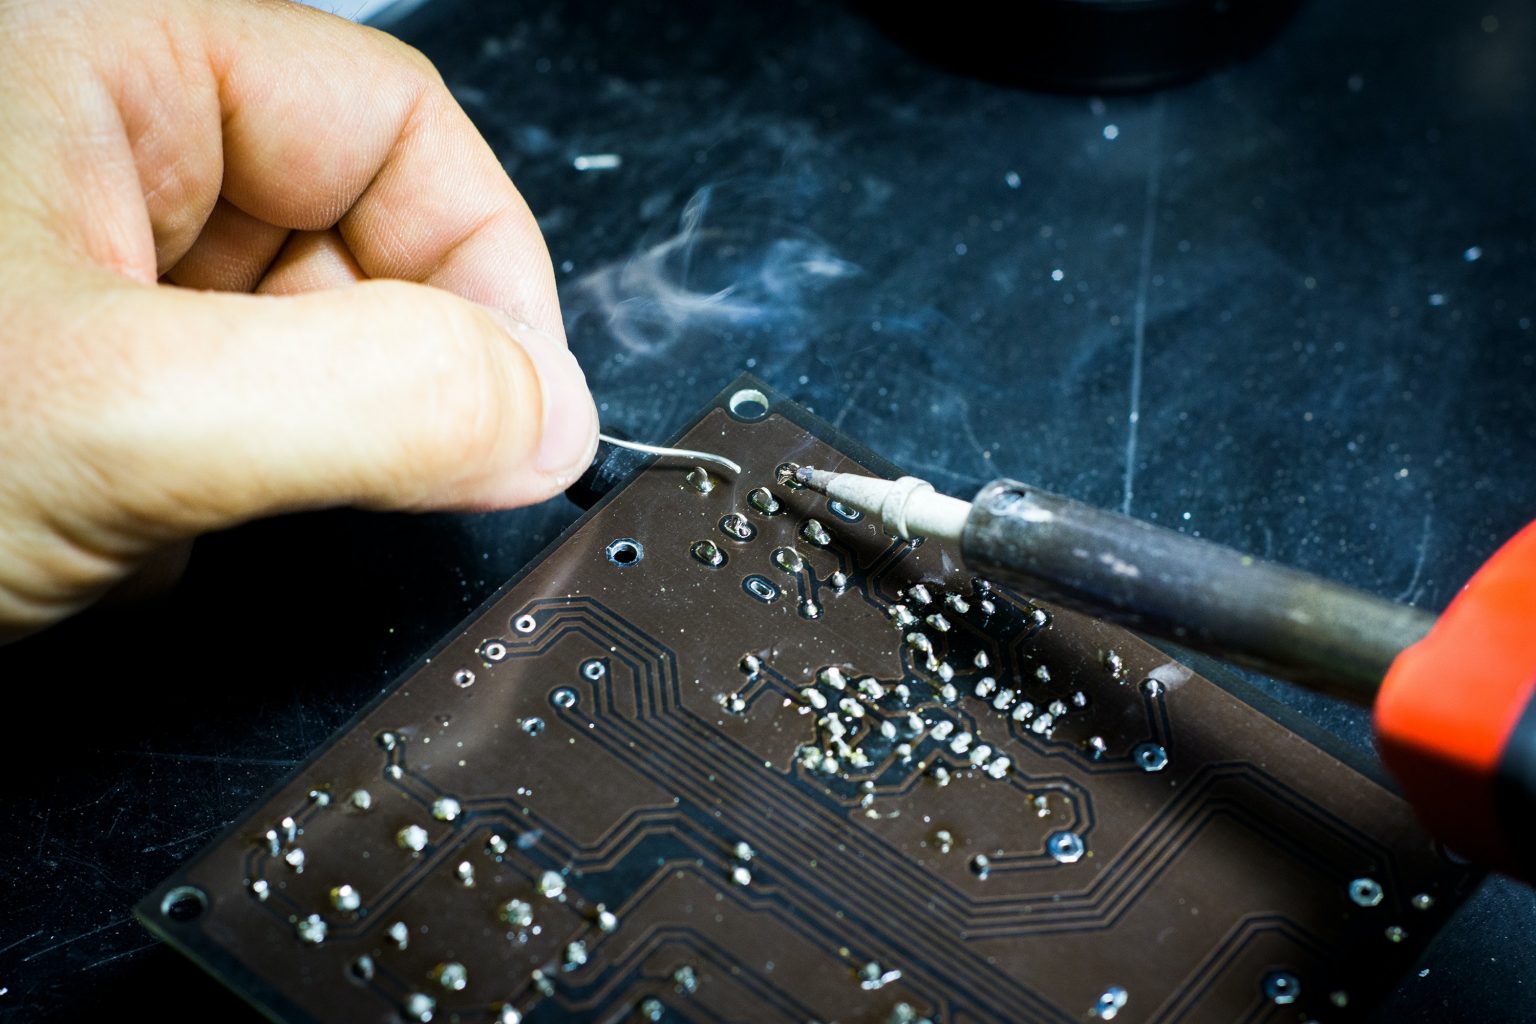
The designs are made to sound as close to the original as possible, sometimes even using original components. Electrical components need to be soldered to the PCB with a soldering iron, which takes some practice but can be learned by everyone.
All audio kits come with detailed instructions and photos, making them easier to assemble than your average Ikea closet. You do need some basic tools to build these kits but consider this a one-time investment. The more kits you build, the more you learn about electronics as well. This eventually allows you to repair your own broken equipment, saving even more money in the long run.
Why build my own gear?
Besides the huge learning experience and the possibilities of repairing and modding your own gear later down the line, building your own gear also saves a ton of money. One of the biggest cost factors of audio gear is labor. Soldering and assembling audio equipment takes a lot of time. With commercial products, you not only pay for assembly but also for research costs and of course brand value.
By building your own gear, you save a huge amount of money. Compared to unobtainable vintage gear you can sometimes save 5x to 10x as much.
What tools do I need for building audio kits?
There’s a handful of tools you need to get started building DIY audio gear. I advise you to go for quality over quantity as this will make your builds much easier. I remember switching from a cheap $30 soldering iron to a $175 Weller and the difference was night and day. Compare it with learning to play guitar on a Walmart guitar that makes your fingers bleed and lose motivation after a couple of weeks instead of spending a bit more money and playing guitar for the rest of your life.
Soldering Iron
The number one tool you need is a soldering iron. By heating the component and applying solder you make a super-strong mechanical and electrical connection to the PCB. This is not a tool to be cheap about as a good solder connection will make your gear last a lifetime and saves you a lot of time troubleshooting bad solder joints. Learning to solder is also a lot easier with a good-quality soldering iron.
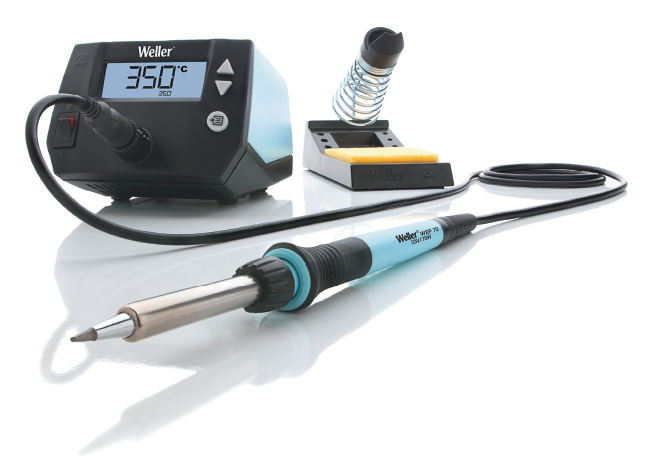
I recommend you get a soldering station instead of a soldering iron, because of the higher quality and better temperature control. It also heats up way faster. The soldering station I use myself is a Weller WS1010 which costs $175,-. It is a high-quality soldering station with variable temperature control and comes with different soldering tips. If you can’t find a Weller near your location then Hakko is a good alternative.
Solder
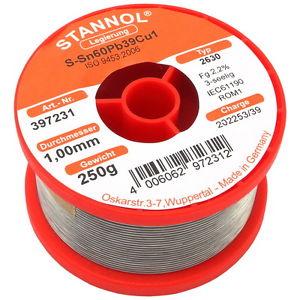
In addition to a soldering iron, you need some solder to connect each component to the PCB. You have two options here: leaded and lead-free. Lead-free solder is made to replace leaded solder because lead is a toxic material. Lead-free solder is a bit harder to use because of its higher melting temperature. It also isn’t as shiny as leaded solder which makes it harder to judge a good connection.
As long as you don’t solder for days in a row, and keep your room well ventilated, using leaded solder shouldn’t give you any health issues. I use solder with a diameter of 0.8mm for most of my work but I also have a spool of 1.0mm for thicker cables and potentiometers.
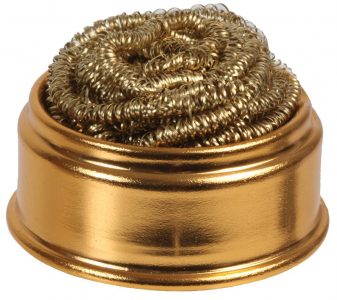
Soldering Sponge / Brass Wool
Most soldering stations come bundled with a sponge for cleaning your soldering iron tips. It is important to clean your tips to make them last longer and keep your solder joints free of junk.
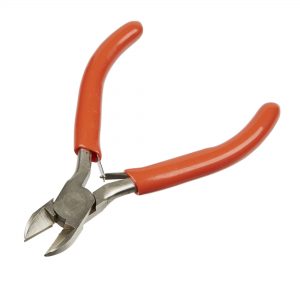
Side Cutters
This tool is used to shorten component leads after you’ve soldered them in place. Cutting them short prevents the leads from touching each other and thus creating short circuits.
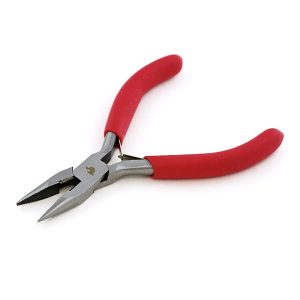
Needle Nose Pliers
These are useful for bending leads or grabbing components. It also prevents you from burning your fingers when you need to hold components during the soldering process.
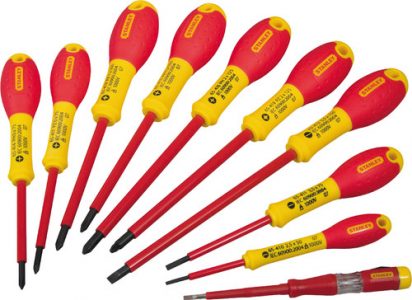
Screwdrivers
A set of screwdrivers is required to assemble your case. One large and one small should do the job. Make sure to get both a Philips screw head and a flat screw head.
Wrench
A couple of wrenches in different sizes are useful for tightening nuts, especially useful in hard-to-reach places.
This collection of tools should get you started building your own vintage gear. Now let’s talk about sourcing your kits.

Buying audio kits
Many sites offer audio components and PCBs. Some require you to source your parts from all around the globe. This can be a daunting task when you’re just starting out so I’d recommend getting full kits first. A full kit will provide all necessary components to complete the build in clearly labeled and organized plastic bags.
Beginner-Friendly DIY Audio Kits
Here is a list of beginner-friendly DIY audio kit manufacturers.
DIYRE
DIY Recording Equipment is an awesome site to get started building your own audio gear. All the builds come with extremely detailed instructions. By starting with a simple project such as a DI or Reamp Box you can make your gear and learn how to solder at the same time!
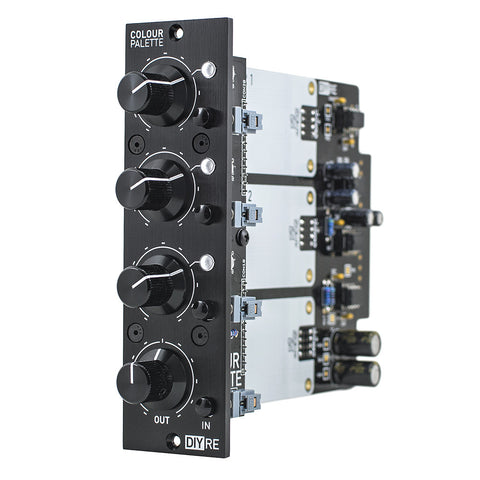
DIYRE is best known for its 500 series Colours range. Colour modules are swappable PCBs with different saturation characteristics. Want a bit of tape saturation? Or maybe some bottom end from a transformer? You can pick and choose your own modules to create the perfect distortion box and add some real analog warmth to your tracks.
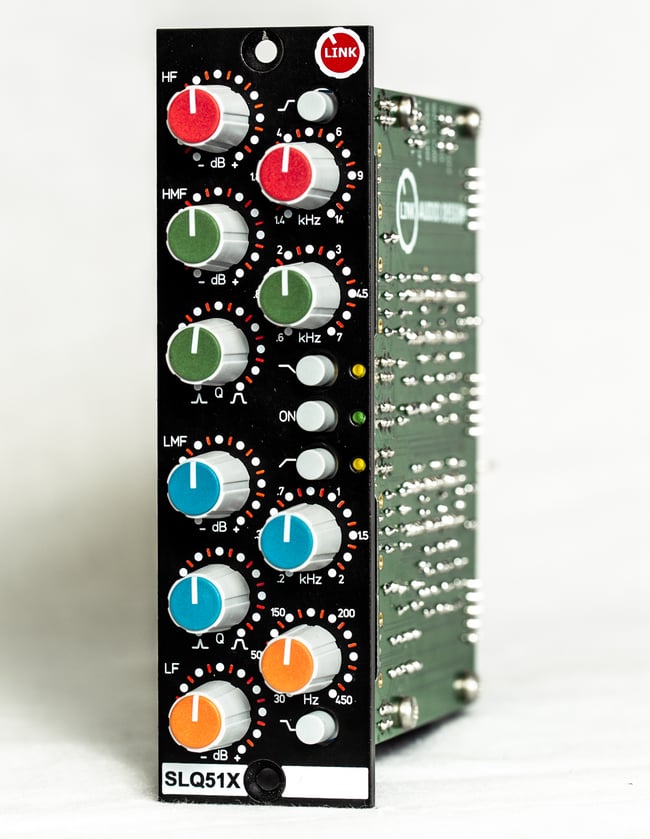
LINK Audio Design
LINK Audio makes 500-series SSL clones for small prices. The kits are very well organized and come with detailed build guides. They also have passive and active DI boxes for sale.
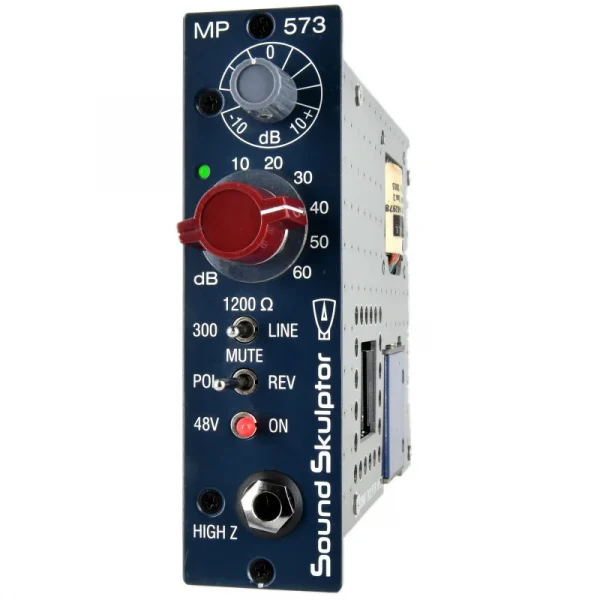
Soundskulptor
Soundskulptor has various 500-series preamps, EQ’s, and compressors. Do you want an SSL bus compressor or a Neve preamp? Or maybe a Pulteq-style EQ? They also have an ultra-phat-sounding tape saturation module.
Hairball Audio
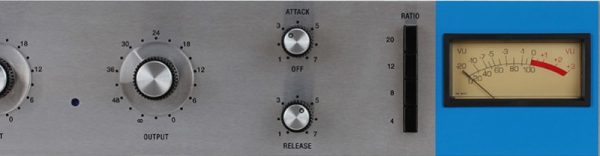
Hairball Audio is a well-known store that offers various 1176 revisions in both 500-series format and 19-inch rack format. They also sell pre-amp kits.
Audio Maintenance
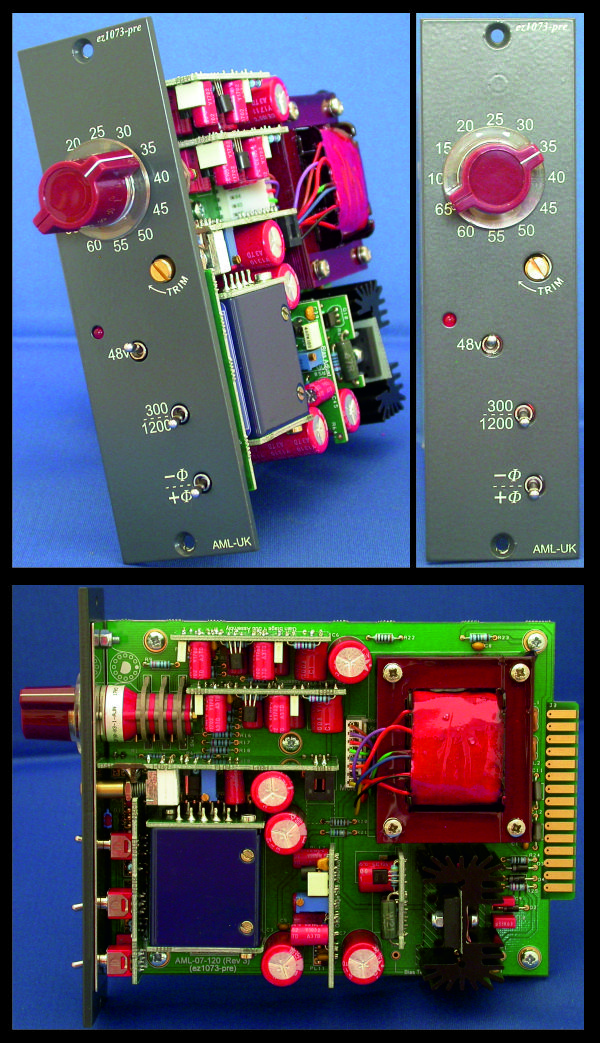
Audio Maintenance or AML has various Neve clones for very affordable prices. These kits are a bit more advanced but definitely check them out.
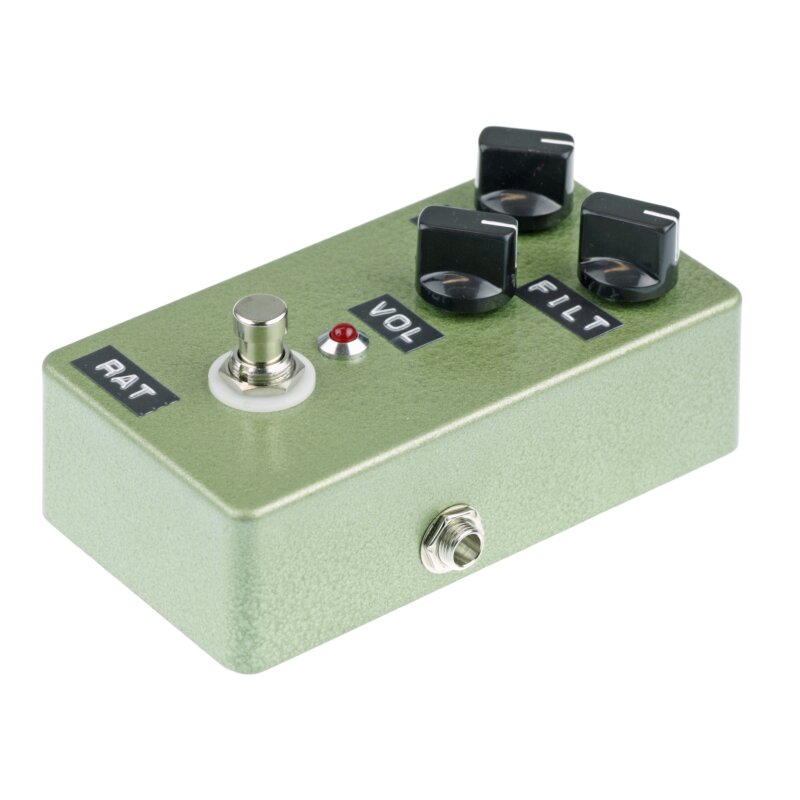
Musikding
If you are into guitar pedals then you should take a look at Musikding. They offer loads of guitar pedal kits which are very rewarding to build. It takes some fiddling around to get everything to fit in a guitar enclosure but it’s certainly worth the effort.
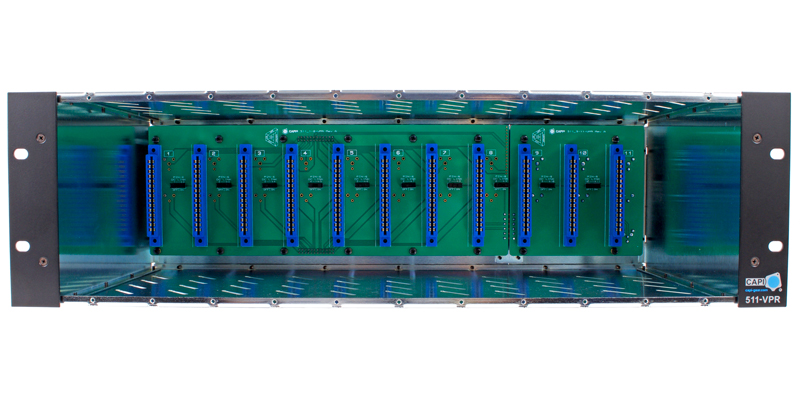
CAPI Gear
Classic Audio Products Inc makes incredible-sounding API clones for affordable prices. They also have one of the cheapest 500-series lunchboxes available on the market. These things are dead quiet and much more reliable than an original lunchbox.
Conclusion
Do you want to fill your empty racks with 100% analog gear that competes with an original vintage unit? Then DIY audio is definitely the way to go. Once you dive into the market of DIY Audio gear you will also explore other possibilities such as building your own Eurorack modules or synthesizers. Good luck with your first project!