
In production basics part 15 we’ve learned some things about one of the most important mixing tools: EQ. Another tool that is used all the time when mixing is compression. Compression is often overused and misunderstood. I hope this article will clarify the mysticality’s of compression a little bit.
What is compression?
As we’ve discussed briefly in our effects overview in part 14 of this series, compression is about reducing dynamic range. We’ve learned that compression is basically an automated volume control that lowers the volume when a signal level reaches a certain threshold. This means that if you have a bass guitar and some notes are played a little louder than others, the compressor will react to those loud notes only when your threshold level is set to those peaks. The same is true for vocals, drums, or any other instrument that has some form of dynamics.

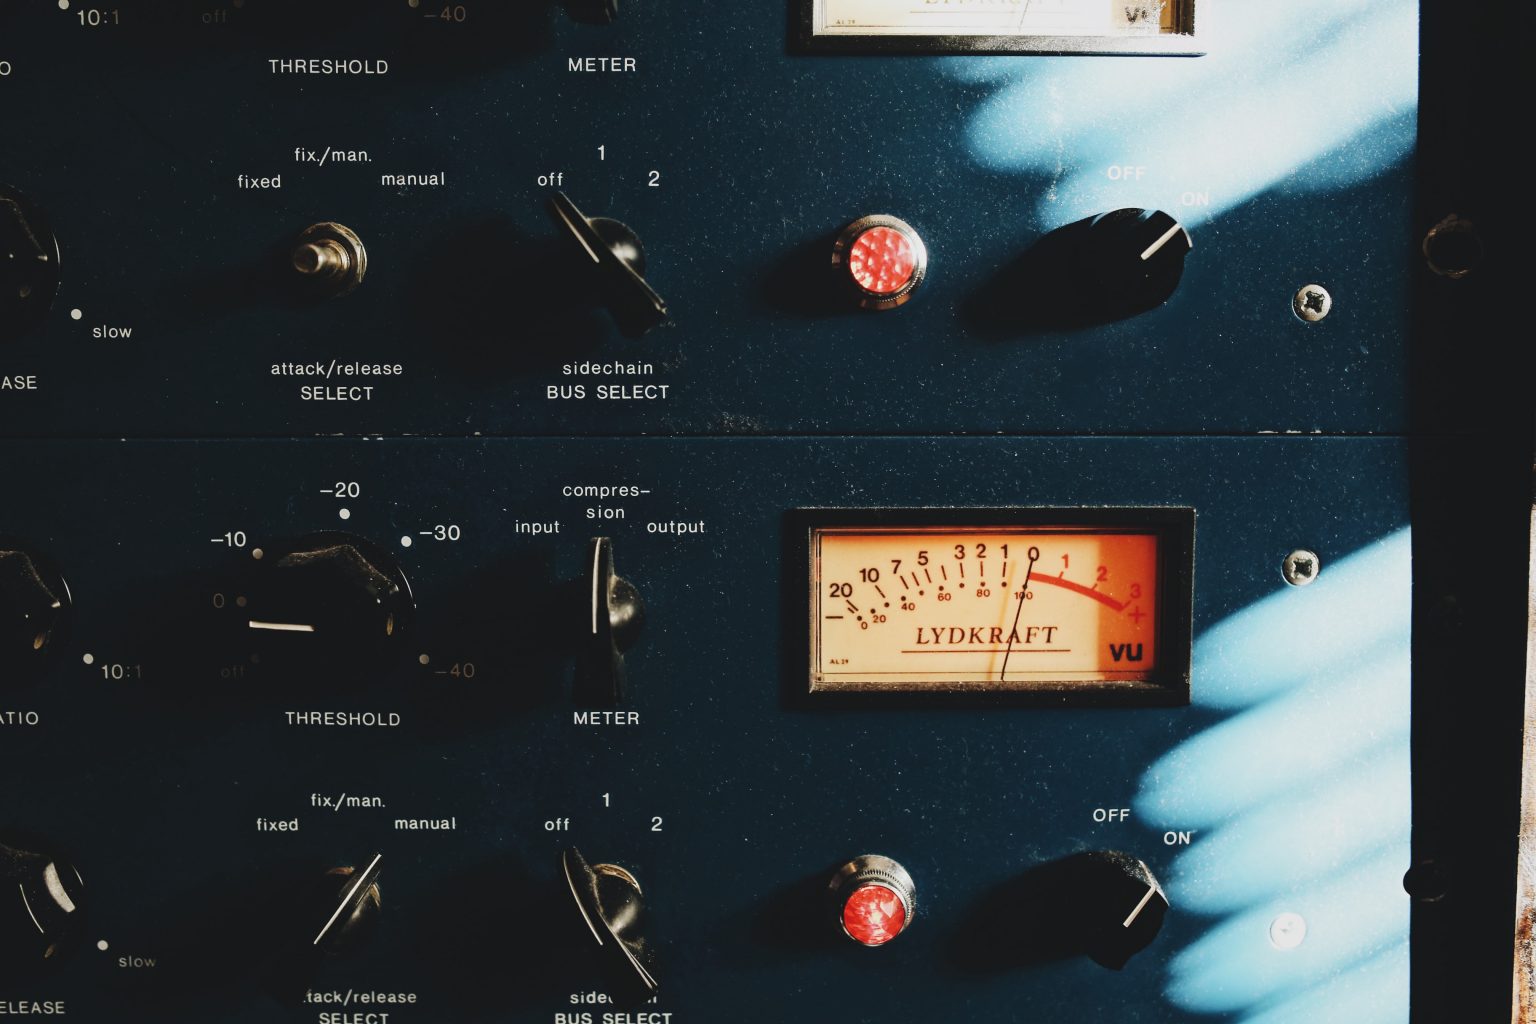
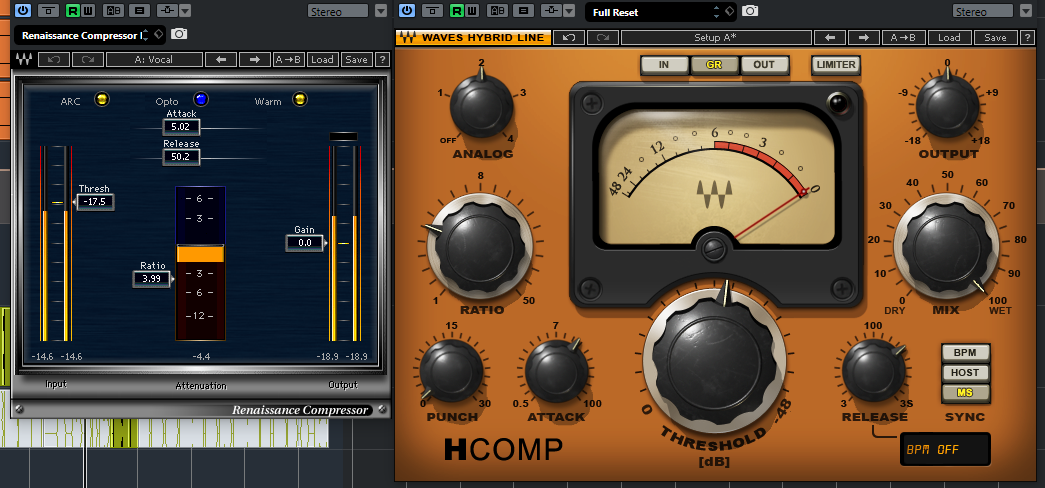
Ratio
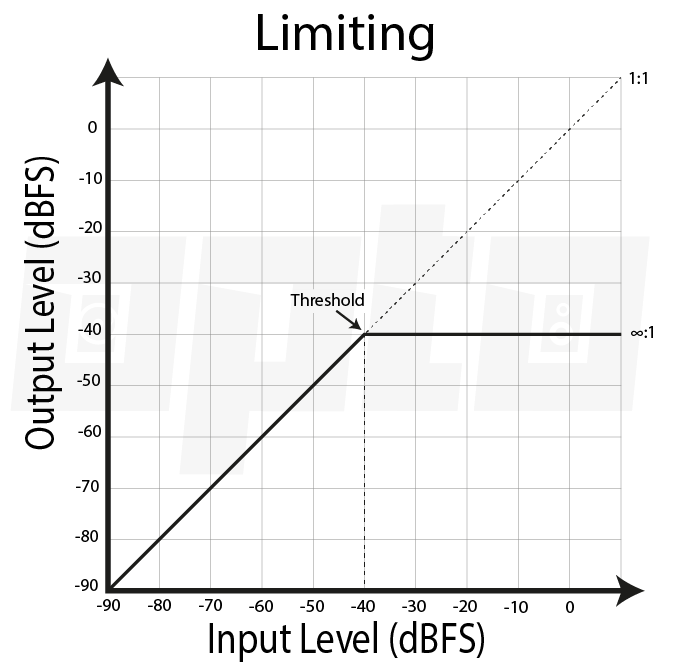
The threshold is the level at which the compressor is activated. The ratio control of a compressor sets the amount of volume attenuation or gain reduction that is applied to signals crossing the threshold. A ratio of 2:1 means that a signal level of 2dB above the threshold level gets reduced to 1dB and a signal level of 4dB will be reduced to 2dB and so on.

While a ratio of 10:1 will need to pass the threshold by 10dB to raise the output level by 1dB. A limiter basically has a ratio of ∞:1, which means the signal that passes the threshold will never raise the output level.
Make-up Gain
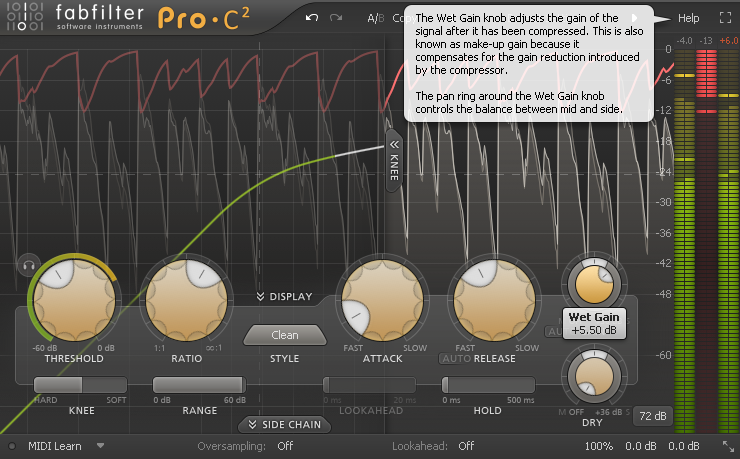
Because a compressor reduces the output level of a signal above the threshold level, a make-up gain knob or output level control is provided to make up for the loss in volume. Some compressors have an automatic make-up gain control that raises the output level automatically when lowering the threshold.
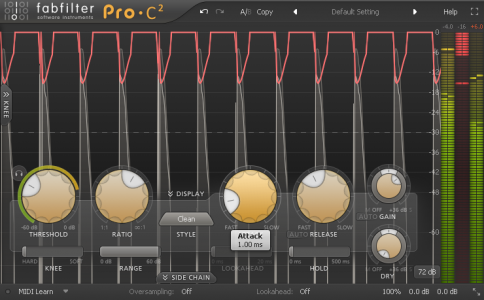
Attack & Release
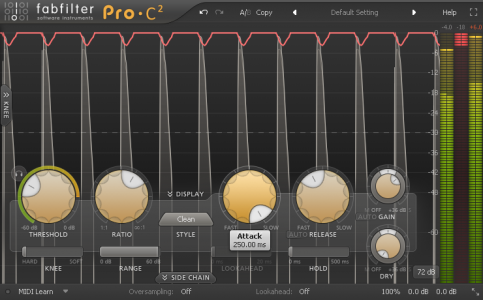
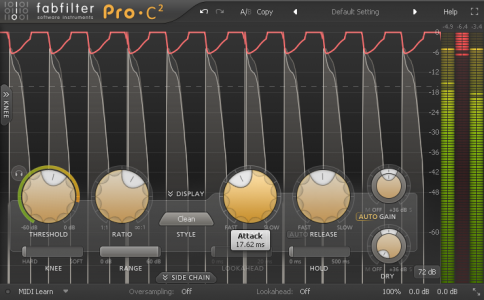
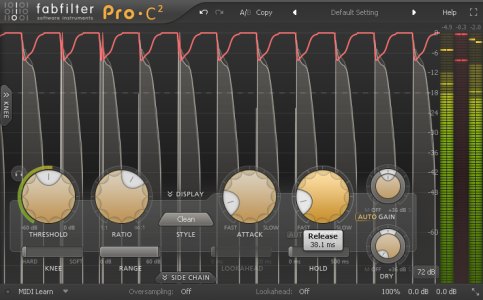
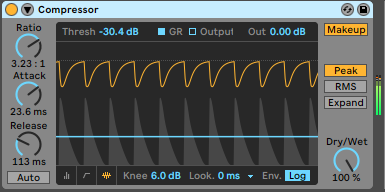
In addition to threshold and ratio, a compressor has 2 more important controls: attack and release. These controls affect the timing of the compressor. A compressor has a detector circuit that analyses the input signal. The attack time controls the speed of this detector circuit, and thus affects the time it takes for the compressor to start reducing it’s output level when the threshold is exceeded. The release time is the time for the compressor to return its output level back up after the signal falls below the threshold level.
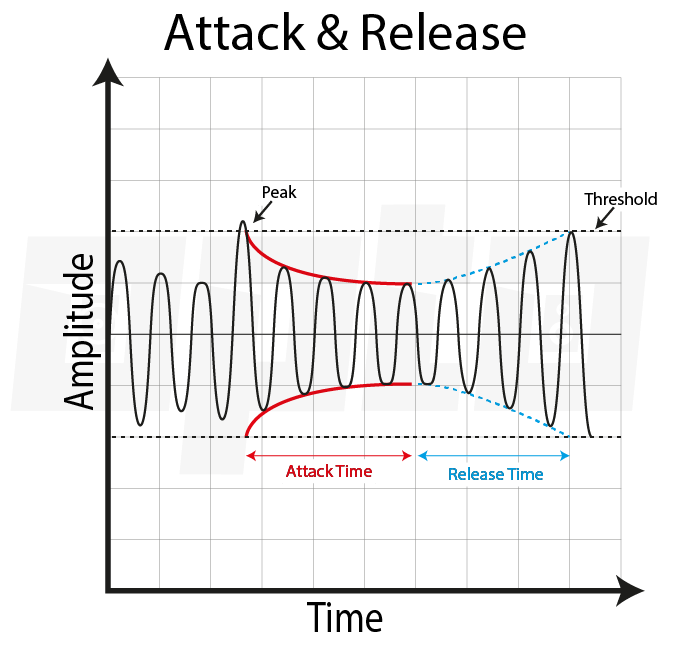
If you want to compress a snare drum for example and you set the attack time very short to about 1 millisecond the compressor reacts to every snare hit.
If you raise the attack time to the maximum level, say 250 milliseconds, depending on the type of compressor you use, the detector circuit responds too slow in order to detect the peak of a snare drum which may only last for 20 milliseconds.
Transient versus Tail
The initial peak of a sound is called the transient, while the sound that follows is called the sustain or tail. By changing the attack time on a compressor you can decide how much of that initial transient you want to let through undetected. A low instrument like a bass guitar or kick drum has a long transient of around 30ms (milliseconds) to 50ms. If you set the attack time to 1ms, the compressor starts reducing gain immediately, thus lowering both the transient and the tail of a sound.
If you would now lengthen the attack time, the initial transient would pass through the compressor unaffected, but the sustain of the sound will be reduced. How long the sustain will be reduced depends on the release time. This means you can alter the ratio between transient and sustain of a sound. In this case, you emphasize the transient and lower the sustain.
Sometimes you want to alter a sound the other way around and reduce the transient but increase the sustain. In this case, you would use a short attack time but also a short release so the compressor only applies gain reduction to the transient and not the sustain. By increasing the output gain or make-up gain you can now raise the output level again. A good example would be to get more room out of a drum recording. By reducing the transients you’ll emphasize the sustain of the sound i.e. the reflections.
When to use compression?
It’s important to always ask yourself this question: ‘Does this sound really need compression?’. If you’re not sure, the answer is usually ‘no’. Dynamic range is what makes music breathe. If you use compression extensively you will eventually lose impact. A static sine sub-bass doesn’t need compression because it has no dynamic range. You’re better of shaping your sound with synthesis techniques than by using compression on everything.
Most samples don’t need compression, because they are already processed. It is much more common to use compression on acoustic instruments because of their dynamic nature. I use compression on vocals all the time. Sometimes I even use 2 compressors in series. One compressor will have a fast attack and release time to tame the peaks a little bit, while another compressor will have a slower attack and release time to average out the overall dynamic range a little bit. The key is to be subtle, I usually don’t go for more than 6dB of gain reduction.
Parallel compression
Compression doesn’t always need to be used on an insert channel. You can also use compression on an auxiliary send. Some compressors even provide a mix knob so you can blend the compressed signal with the dry uncompressed signal. This allows you to use more extreme compression settings while subtly blending this sound with the dry signal. Parallel Compression is often used on bass and kick sounds to add some clarity or punch without ruining the dynamic range completely.
Parallel compression is originally called New-York Compression because the studio’s out there basically invented this technique. In addition to compression, they also added EQ to compensate for the low-end and high-end that gets lost after applying heavy compression.

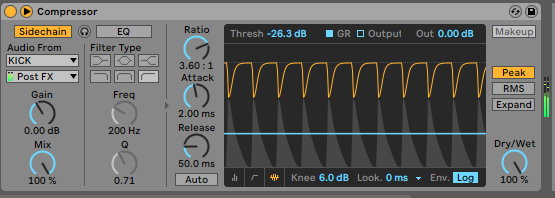
Sidechain compression
Sidechain compression is used a lot in electronic dance music. The detector circuit I talked about earlier is basically called the side-chain. It’s a separate part of the compressor that controls how the compressor will react to sounds that cross the threshold level. All compressors have an internal side chain section that defines the sound of a compressor. Some compressors allow you to insert a signal to the side chain section. For example, a copy of the input signal but with an EQ filtering out all low frequencies. This is useful if you have a drum mix with lots of low-frequency content. Without a sidechain, the compressor will mainly react to the low-frequency information because it contains the most energy. If you filter out this low-frequency information the compressor now doesn’t respond as much to the low end anymore and focuses more on the other frequencies.

A common technique in electronic music is to sidechain the bass to the kick drum. To do this, you put a compressor on the bass channel and activate the compressor’s sidechain input. You then need to send the kick drum signal to the input of this sidechain so the compressor reacts to the kick drum level. The result of this is that every time the kick plays, the compressor reduces the level of the bass. This is a very useful way to create space for the kick drum every time the bass and kick play at the same time.
Compressor setup guide
It takes a while to fully understand compression. The best tip I can give you is to follow the these steps in order:
- Start out with a high ratio (5:1 or higher)
- Set the threshold so the gain reduction meter responds to the peaks only.
- Now set the attack time. Not too fast or it will start distorting, not too slow either or it won’t compress at all.
- Set the release time. Not too fast or it will start distorting, not too slow or you will be compressing all the time.
- Now turn the ratio back down to a more moderate level.
- Adjust the threshold back up if necessary.
- Increase the output gain and bypass the compressor to hear the difference before and after compression.
Do you need extra punch? Increase the attack time. Do you want more sustain? Shorten the attack time.
I usually set the release time so that the level is turned back up just before the next transient. By setting the release time too short you can create ‘pumping’ effects which may or may not be what you want.
Done!
That’s it! A primer on compression. I suggest that you start out by using one compressor only. Every compressor has a certain sound, get to know that sound really well, and only if you’ve mastered that one compressor can you move on to another one. Waves makes excellent compressor plugins for ridiculous prices nowadays. After a while, you will choose one compressor over another for its sound. The API 2500 bus compressor for example reacts pretty fast and is good for drums. The LA2A compressor is used more on vocals and bass as it reacts a little slower.
If you’d like to learn more about mixing in a clear and creative way, check out this book by Wessel Oltheten: Mixing with Impact.
In the next part of this series about music production for beginners, we will discuss reverb & delay in more detail.