How to use automation in Ableton
Nobody wants music that sounds boring right? Well, if you ever twisted a knob inside Ableton and thought to yourself ‘Oh wow, this sounds interesting’. Let me tell you that you can actually change the position of almost every knob and button inside Ableton over time.
That’s right! You don’t need to twist knobs yourself all day, you can let the computer do it for you. So what is this sorcery? It’s called automation.
What is automation?
You probably remember those ‘connect the dots’ drawings you made as a kid right? Draw a line through a bunch of numbered dots and you get a picture.
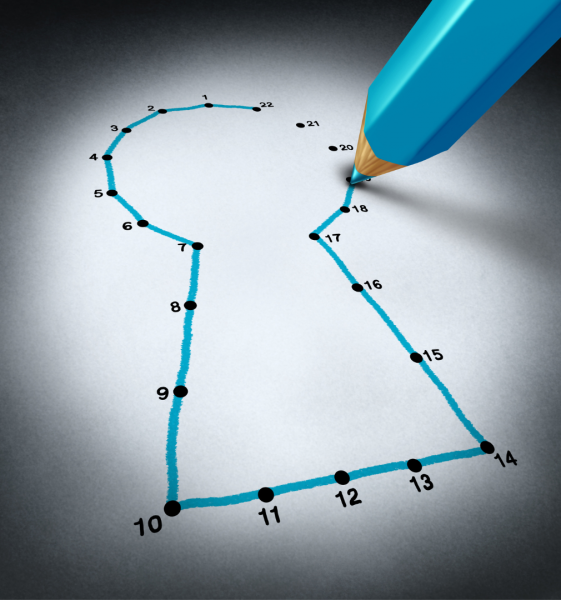
Well, that’s exactly what automation is. Automation works by drawing little dots, representing the value or position of that knob at the current time stamp. Your DAW automatically connects the dots for you and turns these lines into fully automated knob movements!
This means you can change the level of your tracks over time to create fade-outs like all these bands from the previous era that didn’t know how to end the song. Or you can open up the filter cutoff on your synthesizer to build tension towards the drop.
Maybe you also want to add some send automation, slowly adding more reverb to your sound over time. And if you’re feeling adventurous, you can pan your kick from left to right!
Well, actually, forget about that. Let’s not do that oké.
How do we automate things inside Ableton?
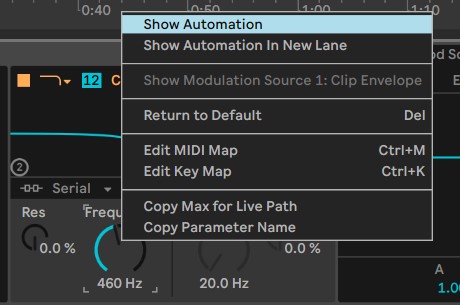
Oké, so you found a knob you want to automate. In Ableton, all you need to do is right-click on this knob, and choose ‘Show Automation’.
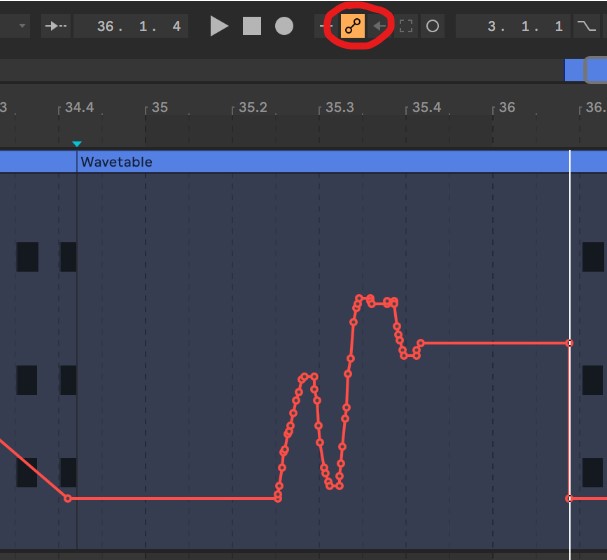
If you were previously on session view, you’re now taken to the arrangement view and a dashed, red, horizontal line appears on screen. Right above the tracks, a yellow button lit up indicating that we’ve now enabled Automation mode.
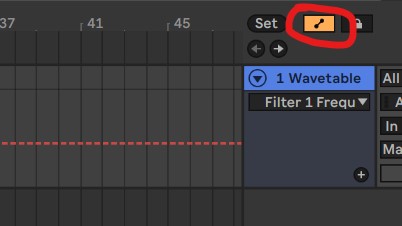
Also note, that underneath the track name, a grey box appeared with what appears to be the name of our previously selected knob: Filter 1 Frequency in this case.
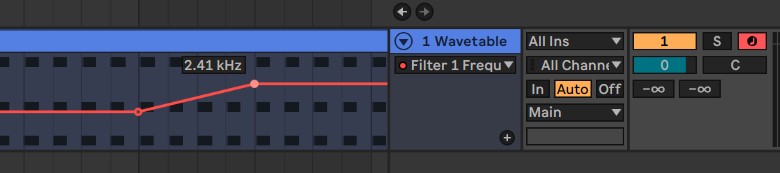
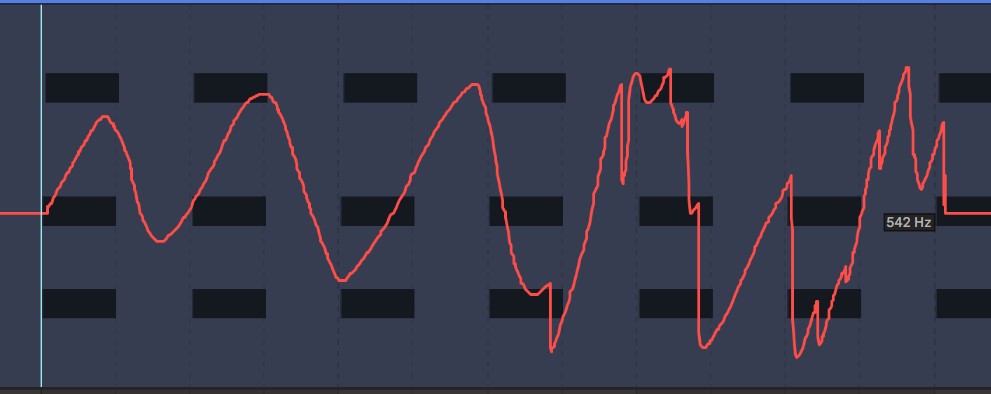
When we hover our mouse above this dashed line, it becomes solid red, meaning we can click on it. As soon as you click, a dot appears. You can move this dot up and down to change the position of the knob. You can add as many dots as you want to create what is called: an automation curve.
To delete a dot, simply click on it once more.
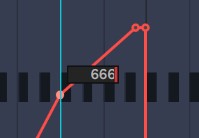
You can even right-click a dot and select edit value to enter in precise values.
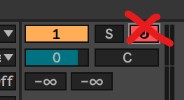
If we go back to the control we just automated, you can see a red dot, indicating this control is currently being automated.
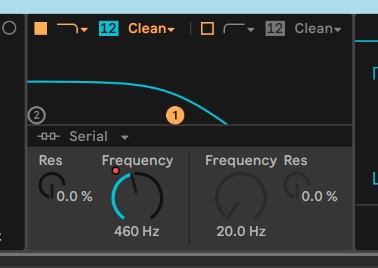
When we manually move the control with our mouse, the automation greys-out. Manual changes always supersede automated values.
Note that when you manually override automation, an orange button lights up on top of the window, right next to the start/stop buttons.
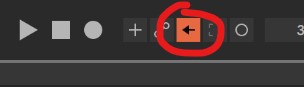
If you press this re-enable automation button, the automation becomes active again.
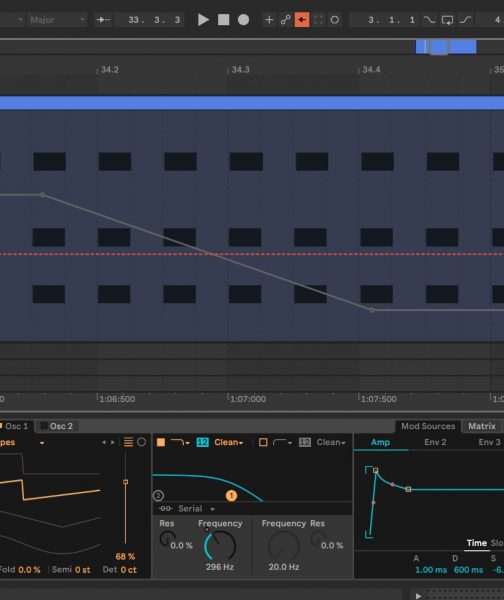
You can also bend this straight line into an exponential or logarithmic curve by holding ALT/OPTION and dragging in-between the dots.

If you click and drag to select a range and right-click inside this selected area, at the bottom of the context menu you’ll find: Insert Shape. Here you can choose from a range of pre-defined shapes.
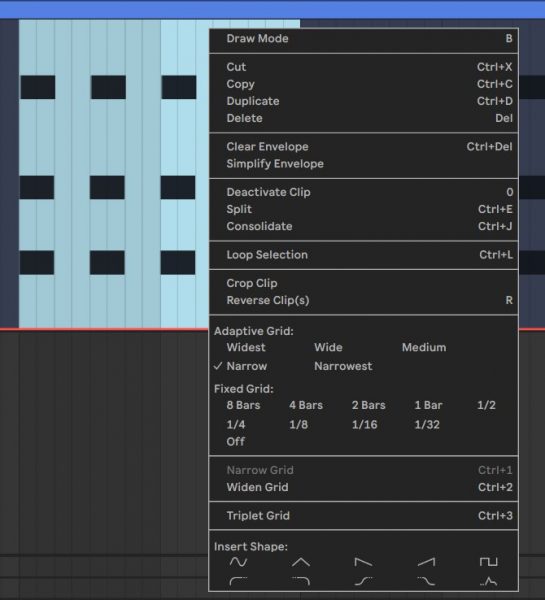
If you don’t select a range, but simply click somewhere along the track, you can still insert shapes, but the length will depend on your currently selected grid size.
Editing Automation
Now let’s say you’ve drawn a bunch of lines, but you went a bit overhead with the settings. What if you want to reduce the height of all the dots and turn them all down at once?
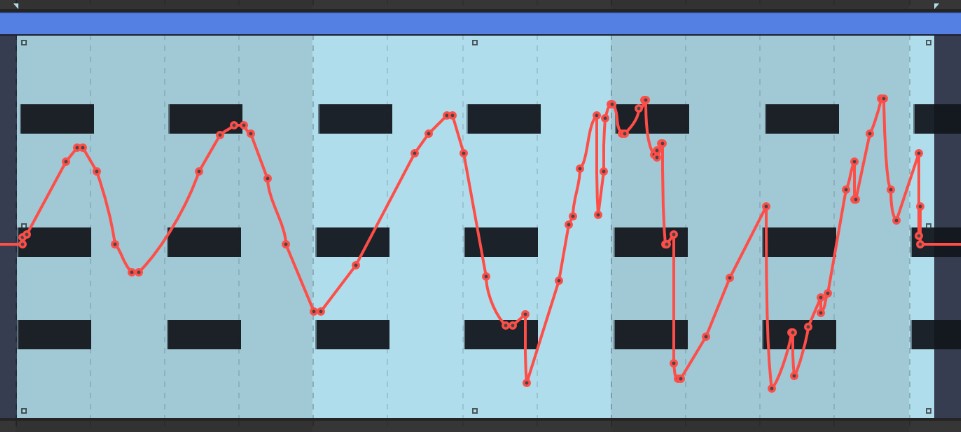
You can do this by selecting a range, by clicking and dragging your mouse along the track.
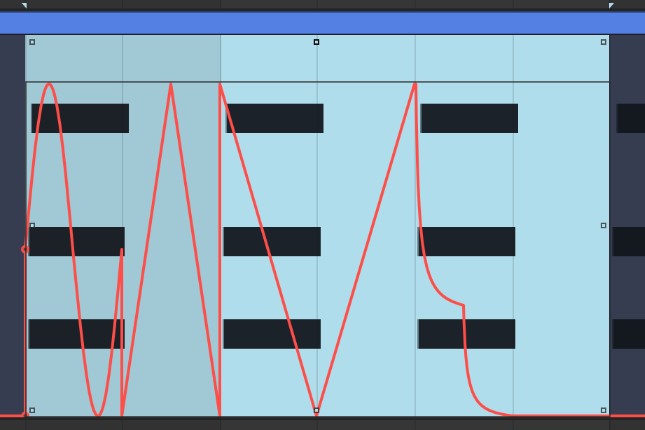
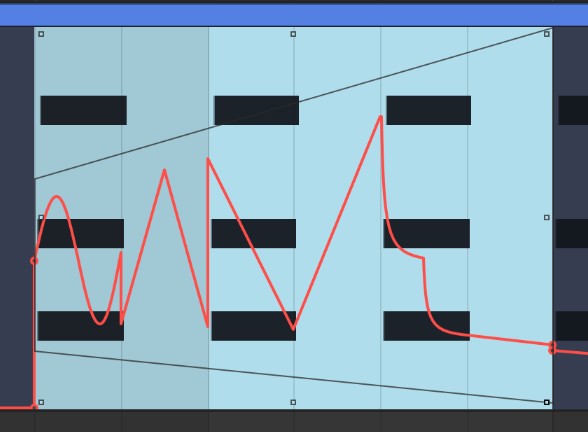
If you look closely, a bunch of small squares appear at the edges of the selected area. The top one in the middle allows you to turn down the curve for the selected area in one go.
You can do the opposite by turning up the square at the bottom.
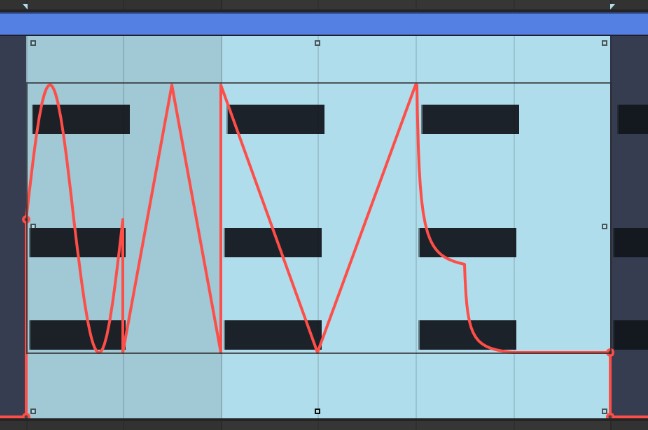
Or you can slope the automation curve, by dragging one of the four corner squares.
And of course, just like copying and pasting clips, you can copy and paste automation with the default CTRL/CMD + C and CTRL/CMD + V shortcuts. Duplicating also works with CTRL/CMD + D.
A simple press of the delete or backspace key will erase the automation.
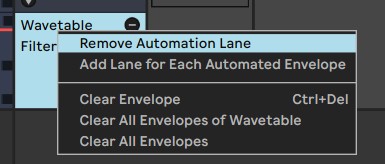
You can also right click on the automation lane on the right side of the window to clear the envelope for one or all automated parameters at once.
Just remember that when you deactivate Automation Mode (shortcut: A), and you copy, or duplicate clips, the automation is copied over as well.

To prevent this, there’s a lock button right beside the Automation Mode button. This allows you to edit clips, without affecting the automation.
Drawing automation with the pen tool
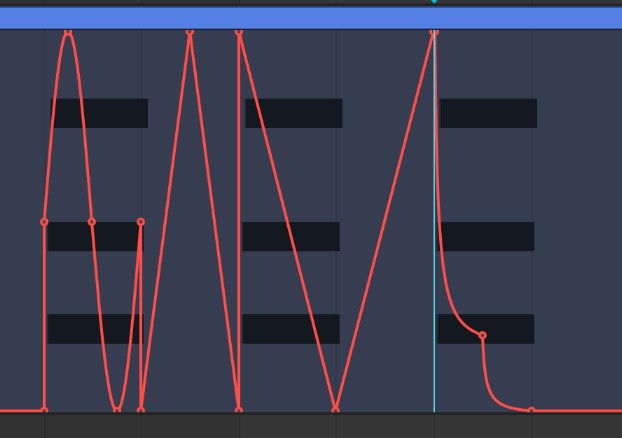
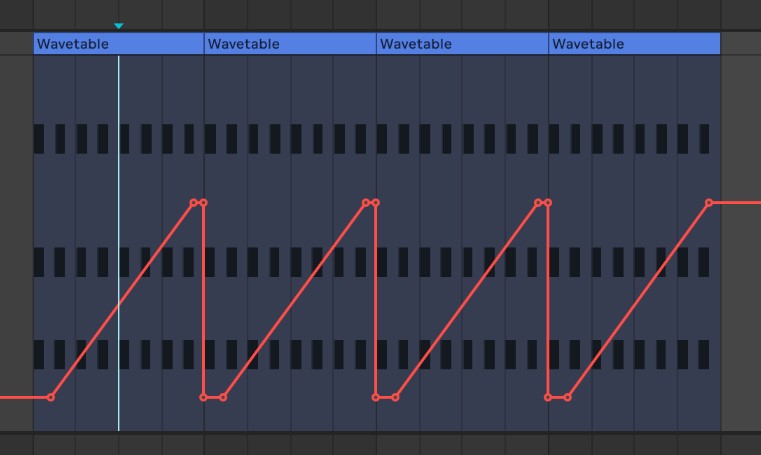
When you activate draw mode (shortcut: B) you can draw in steps.

This will follow the currently selected grid.
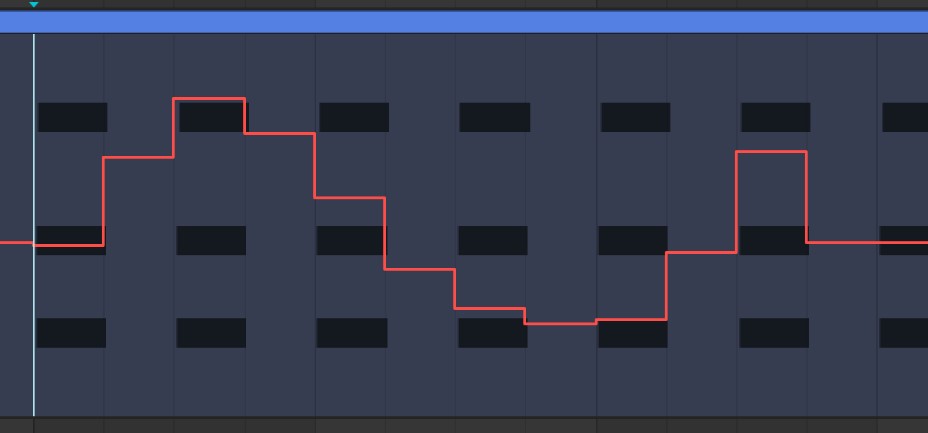
With the grid turned off, you can draw very detailed automation curves.
This will however create a lot of dots. To clear things up, you can make a selection, right-click and select Simplify Envelope. Ableton then combines as many dots as it can to simplify the curve.
Automation Lanes
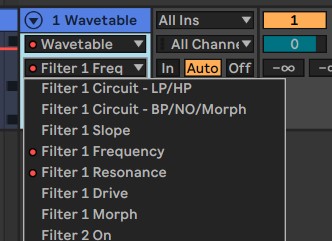
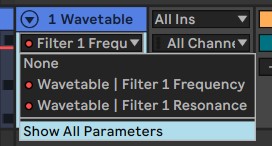
You can automate as many knobs as you want inside Ableton Live. On the right-hand side, you’ve got two drop-down menus. The top menu selects the instrument, effect, or mixer while the bottom menu shows all available parameters for this device.
This list can be huge, so luckily there’s an option to Show Automated Parameters Only.
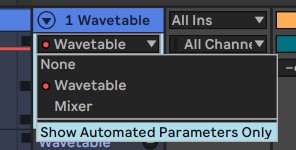
This makes it easy to switch to another automation curve.

If you want to show multiple automation lanes at once, you can do so by clicking on the + symbol.
The currently selected automation lane will move down to a new lane so you can easily visualize multiple automation curves at once.

Recording Automation
Instead of drawing in automation, you can also record it in either by using your mouse or by attaching a MIDI controller to a knob or button.
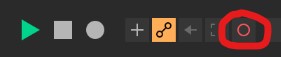
To record automation, you need to activate the Automation Arm button on top of the window.
Be careful though, as this will also overwrite any MIDI notes if you’ve currently armed the track as well. Simply turn off Arm Recording to prevent this.

Another way is to activate MIDI Arrangement Overdub mode by clicking on the + symbol on top. This means new MIDI notes will merge with all armed tracks, instead of replacing them.
Recording automation in session view
In addition to recording automation in arrangement view, you can also record automation directly into clips. To do this, first activate automation arm mode. Then arm the track you want to automate, and finally click on the session record button.
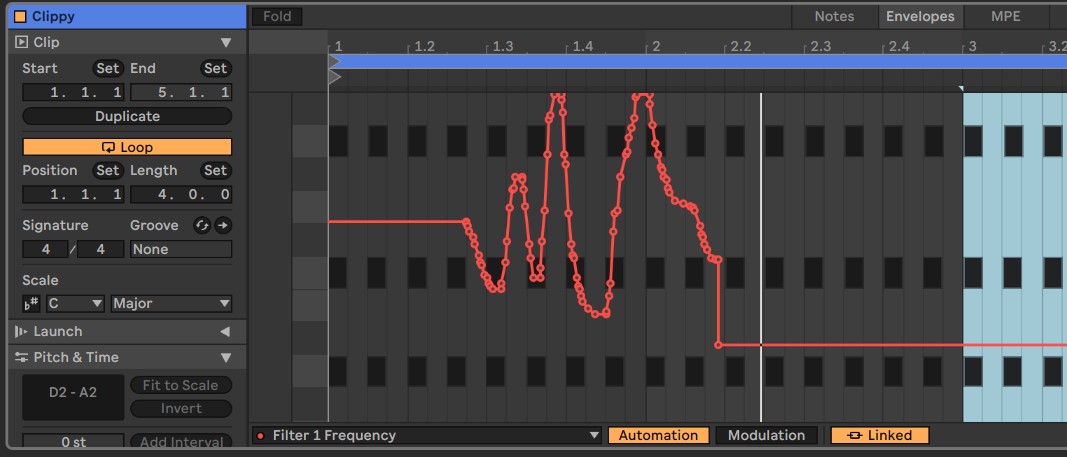
Now, when you open the clip, you can see and edit the automation under the Envelopes tab.
That’s it!
Alright, that’s all there is to using automation inside Ableton Live! If I missed anything or you need further clarification, just let me know in the comments below, or feel free to ask me any questions.
If you want to learn more about music production, I teach private production classes, in English and Dutch, either online or in my studio in Amsterdam.