Velocity MIDI Effect
When you’re hammering on your keyboard sometimes it’s difficult to reach the loudest notes. While other times, no matter how gently you touch your keyboard, it seems impossible to play really quietly.
Every MIDI keyboard has its own velocity response, and also the velocity range differs for each brand. Luckily Ableton has an easy solution for this problem. All you need is the Velocity MIDI Effect.
How to use the Velocity MIDI effect?
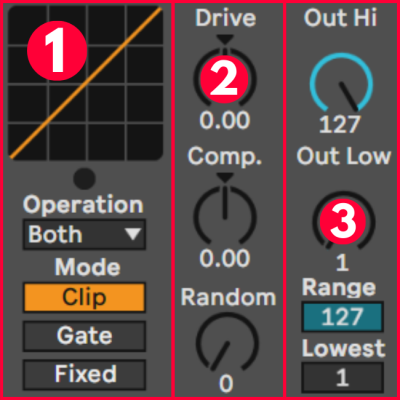
1. Velocity Operation Mode
Starting in the top left, there’s a display that shows the ratio between input and output velocity. A useful graph to visualize what’s going on. Below the graph is an Operation Mode. Here you can choose whether this MIDI effect is applied to Velocity (note-on), Release Velocity (note-off), or both. Release velocity is rarely used in MIDI controllers but it measures how fast you release a key. Typically we just use Velocity.
Then underneath that there are 3 different modes. These interact with the range control in the bottom right.
Clip: if the velocity of an incoming note exceeds the range, the velocity is clipped. In other words, the velocity is adapted to fit inside the new range.
Gate: if a note falls outside the range, it is not played at all. A small blue indicator below the graph lights up when this is the case.
Fixed: the incoming velocity is neglected and all notes are set to a fixed velocity. Useful for drums.
2. Curve & Random Controls
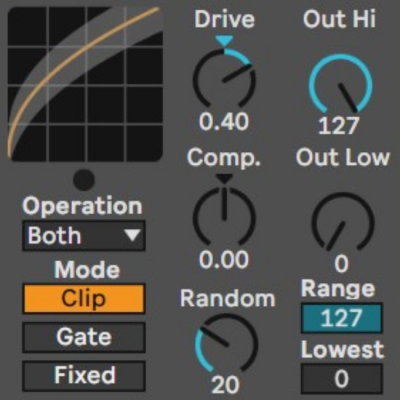
The Drive control is the one you want to change when your MIDI keyboard is either playing too loud or too soft. A positive drive range scales your notes towards the louder velocities, while a negative range result in softer velocities.
The Compander is a combination between a compressor and expander. Postive values will push velocities towards the outer extremes, so loud and soft. While negative values pull the velocities more towards the middle of the range.
Finally Random adds random velocities to each note. If you’ve got a MIDI controller without velocity, this is a great way to emulate some artificial dynamics.
3. Range control
We’ve already seen the range controls at the bottom. These define the lowest and highest input velocities. Some synthesizer keyboards like the Yamaha DX7 have a maximum output velocity of 100. By adjusting the range to 100, you can scale this value to a higher output velocity.
The output velocity is adjusted by the two dials above: Out Hi and Out Low. If you simply want to make everything louder, all you need to do is turn up the Out Low control. Useful to generate accents on a TB-303 synthesizer for example.