Share your DAW projects the right way
Now that digital audio workstations are becoming cheaper, musicians can quite easily produce their own song demo’s. Especially now that Mac’s come supplied with garage band and programs like reaper are free to use.
If you are going to collaborate with a producer for your next album, there’s little chance he or she will be using the same DAW. What if you are satisfied with the sounds you made but the producer doesn’t have access to the same software?
Exporting audio files
Fortunately, there are a number of file formats that are universally usable. Image audio files like WAV and AIFF but also midi and presets from your favorite software synth’s. Before you hand over your files to a producer there are some things to think about first. For the specific instructions of each DAW, please refer to the manual. I will, however, show you some important tips for preventing common transfer errors.
1. Check your levels
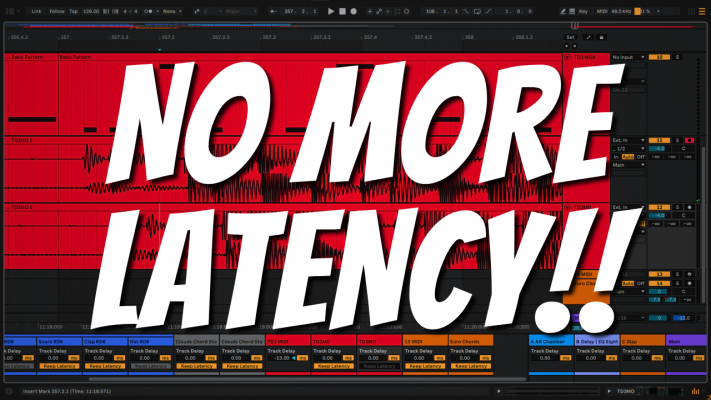
If you’d like to export individual audio tracks, first take a look at your meters and check your headroom. Within your DAW it is no problem to occasionally peak above 0dB. However, if you do export, this becomes a problem. Just lower your fader until your peaks hit around -10dB to -6dB.
2. Listen to your edits
Before you export, audit all your tracks for editing mistakes. I often receive audio that has the first beat cut off or where people didn’t take the reverb tail into account.
3. Bypass unnecessary processing
Speaking of reverb and similar effects, only render effects that you think are absolutely essential to the production. When in doubt, send a version with effects and one without. The producer or mix engineer can then determine what works best.
4. Export from the beginning
In your DAW you may have used loops or samples that don’t initially start from the first measure. If you export those files and import them later on, not all tracks will be the same length and thus start at different positions. Make it a habit to record an empty piece of audio and place it at the beginning of your timeline. This means that all tracks begin at the same place and nobody ever needs to wonder again where that shaker loop should start.
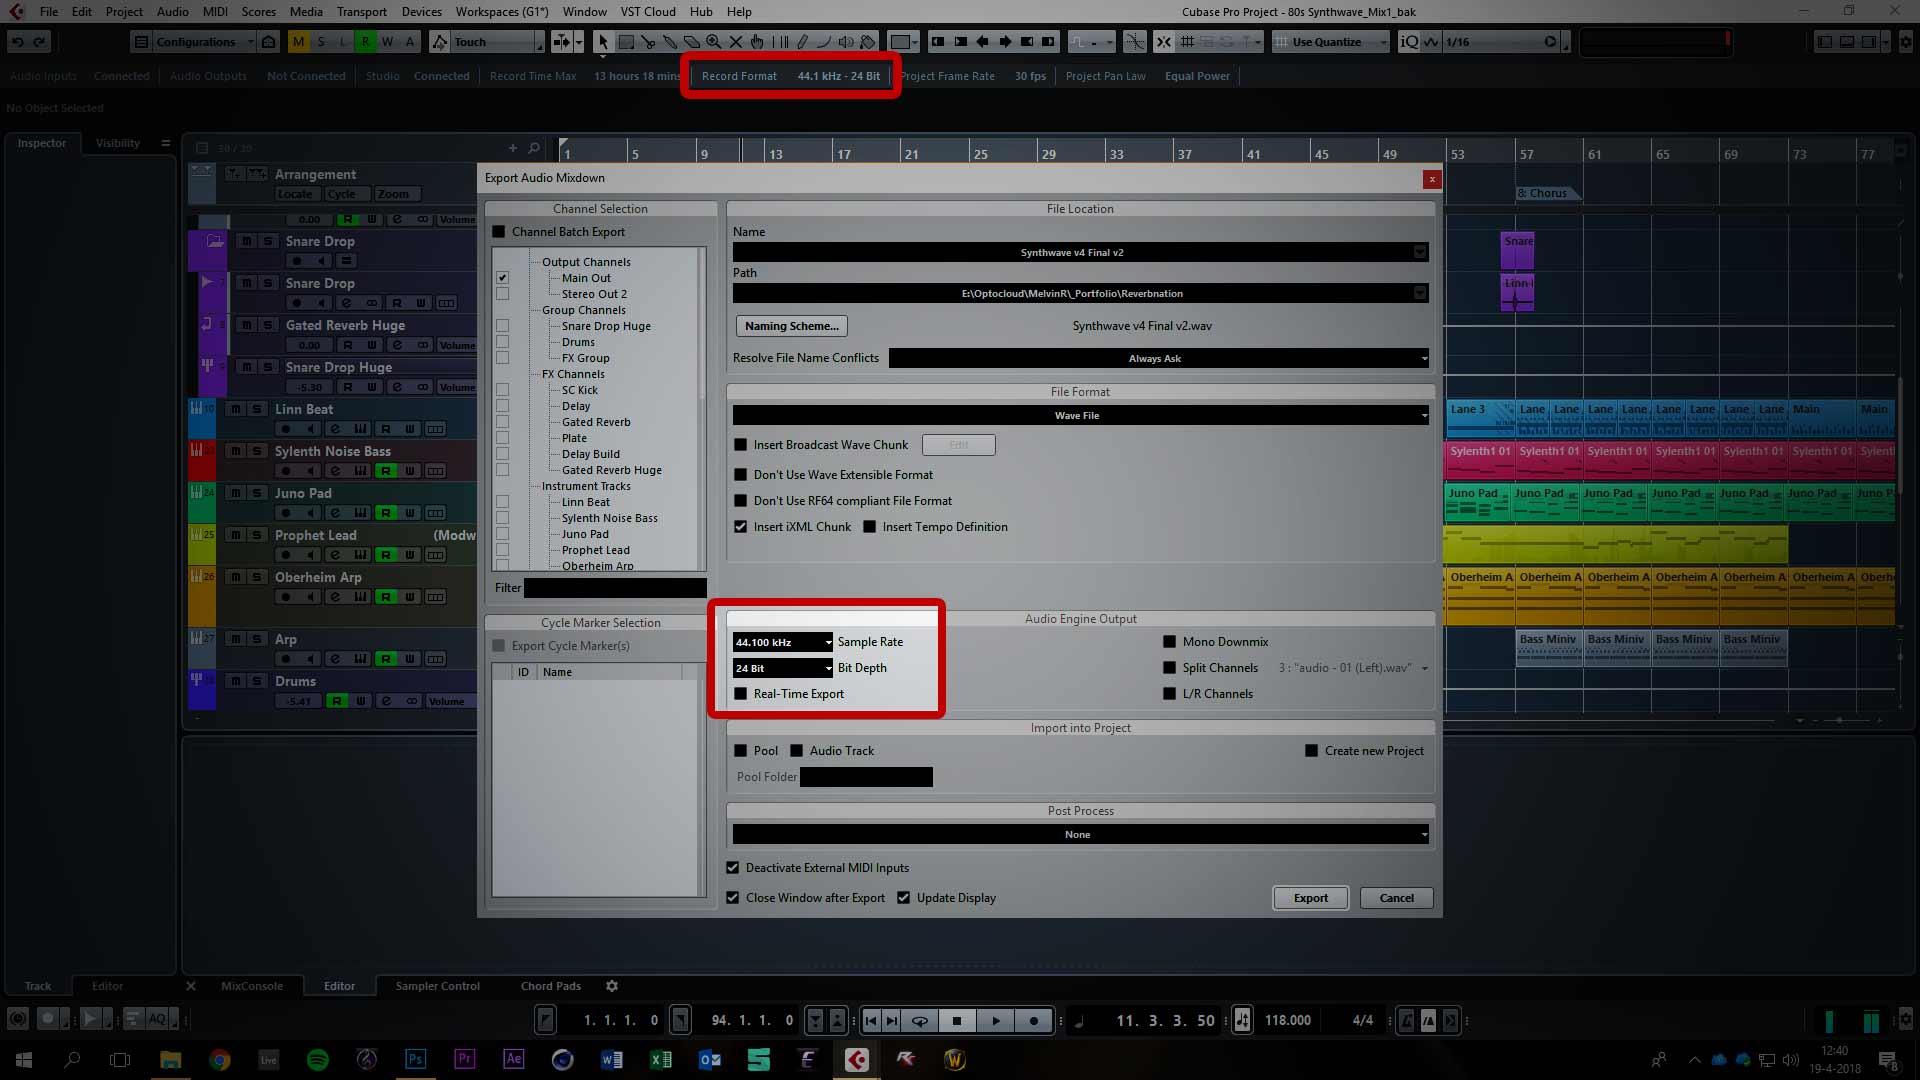
5. Use the correct samplerate and bit depth
If you export audio, make sure you use the same sample rate and bit depth of the project itself. If you record at 44.1 KHz and 24 bits, export like this as well. In addition, always use lossless audio formats such as WAV and AIFF.
6. Number your audio tracks
Another tip that is often used when sending your tracks to a mix engineer, is that you number all audio tracks. Some DAW’s can add a prefix when exporting, with others you’ll have to do this manually. Almost all DAW’s sort audio tracks in alphabetical order, this makes it easier for the mix engineer to identify which tracks belong together.
7. Use clear file names
Lastly, please name your files properly. I can’t even keep track of how many times I received files named las audio01, audio02 etc. Give each track an identifiable name, which instrument the file is or what function it has. If you have stereo tracks, you can export them both as a stereo file or a dual mono file. If you export them in dual mono, add an L or R on each track so the producer knows where to pan each track.
Exporting midi files
Midi has been around since 1983 and every DAW that exists knows this protocol. If you collaborate with a producer, sending midi files along with their respective audio tracks can be quite handy. If the producer ever wants to try a different sound, he doesn’t have to figure out all the notes himself. For midi, the same applies as for audio: exporting everything from the same start position, beat 1, measure 1. This might mean extending each midi track to the start of your project.
8. Join your midi clips together
If you have cut, pasted and copied midi information in your DAW, there are many separate midi files. If you export your midi like this, another DAW might interpret these regions as individual tracks which soon becomes a giant puzzle to solve. Before you export everything, connect your midi files together. Most DAW’s have some sort of ‘glue tool’ which makes this pretty easy.
9, Export one midi file
If you export midi do not use separate midi files but make one midifile. With some DAW’s you have the option to export midi type-0 or type-1. Type-0 combines all midi information of the whole project together on one single track. Type-1 splits the data onto different tracks. Type-1 is generally the easiest to import.
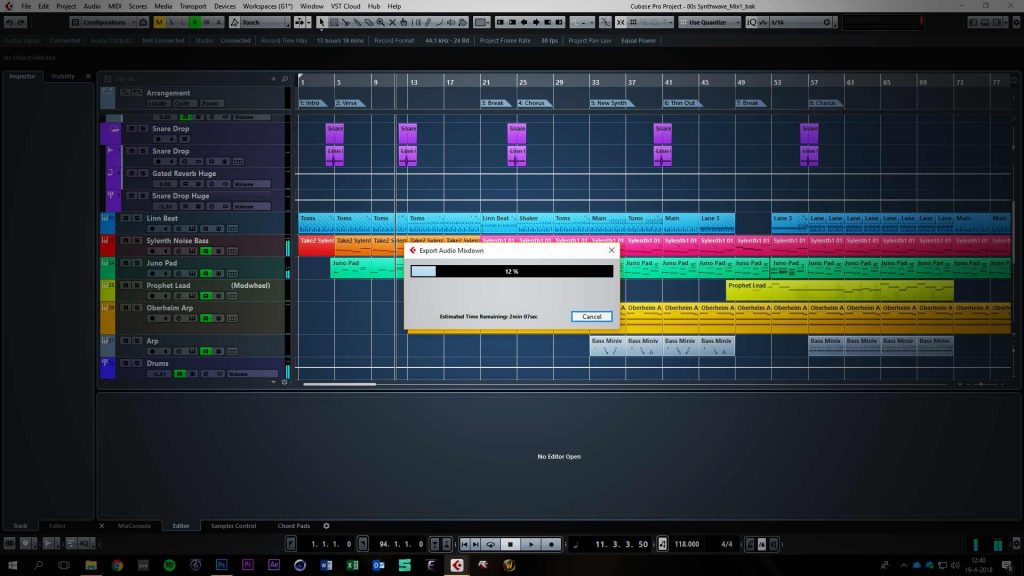
If you have to export a lot of files try to make a new project and import your material there to make sure everything functions properly. It can be a good idea to also include a simple text file containing tempo, key, and other relevant information. If you still have ideas for the sounds, don’t hesitate to add some reference tracks.